
Lighting 101: A Quick Guide for Lighting Film

From three-point lighting to motivated setups, here is everything you need to know about lighting placement and schemes.
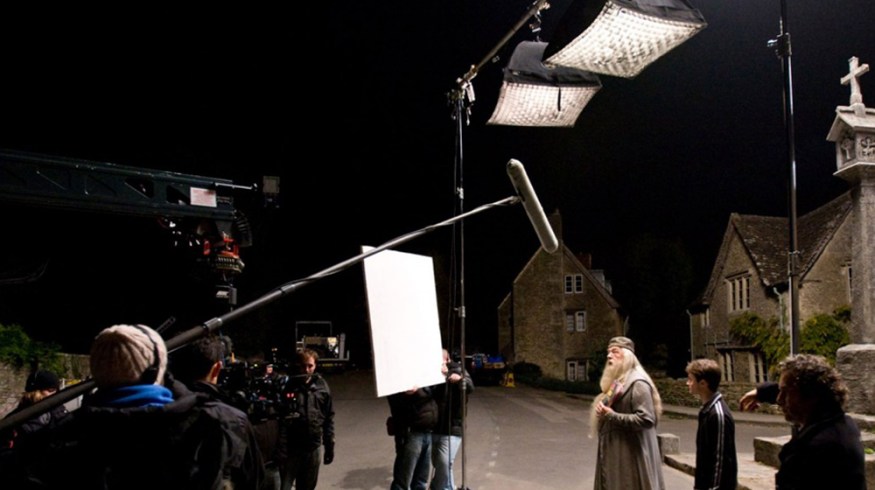
Top image via Warner Bros.
Lighting is an integral part of cinematography, and it’s one of the few areas of filmmaking that has infinite arrangements of setups. Like camera terminology, there are many variations of tools and lighting language. In short, it can get confusing.
There is no one right way to employ lighting design. A scene could be lit several different ways by different cinematographers, each altering the mood and overall impact of the image. However, there is a basic list of lighting placement.
Below is a list of primary light placement terminology and the key points for that placement. It’s important to note that there can be several terms for the same placement. For example; A backlight, rim light, and a hair light are interchangeable terms for having the light placed behind and above an actor.
Key Light
A key light is the primary light of the scene. It will be the most intense and direct light source of the entire scene. It will be the first light to set up and be used to illuminate the form of the subject or actor.
Key Points:
- Avoid placing your key light close to the camera. It will cause your lighting to become flat and featureless.
- If a key light is positioned to the side or back of an actor, it will create a mysterious/dramatic mood, and overall keep the image dark.
- A key light is the primary light in a three-point lighting setup.
Fill Light
A fill light illuminates the shadows that are created by the key light. Fill light is usually placed on the opposite side of the key light and is often not as powerful as the key.
Key Points:
- As the primary function of the fill is to remove shadows created by the key, it’s important that the fill remains indistinctive and does not create shadows or it’s own characteristics. The closer the fill light is to the camera, the less shadows it will create.
- Fills are easy to create even if you don’t have another light at hand; you can place a reflector on the opposite 3/4 to the key. Light will spill onto the reflector and bounce up to your subject.
- A fill light is measured in a fill light ratio also known as a key/fill ratio. It describes the relative amount of light from the key and the fill. For example, a ratio of 1:2 would indicate that the fill is half the intensity of the key.
Back Light
A backlight hits an actor or object from behind and is usually placed higher than the object it is lighting. A backlight is often used to separate an object or an actor from a dark background and give the subject more shape and depth. Backlighting can help bring your subject out and away from looking two-dimensional.
Key Points:
- Non-diffused sunlight can often be too harsh to light your subject as a key light, but as a backlight, the sun can make your subject stand out.
- With the sun as a backlight, you can use a reflector or a foam board to bounce the sun at a lesser intensity back up to the actor.
- To create a silhouette, expose for the backlight and remove your key and fill.
- If a backlight is placed behind an actor at a directional angle, where the light hits part of the face, the backlight becomes a kicker.
- A great affordable backlight is the ARRI 150.
The key light, fill light, and the backlight makes up a three-point lighting setup. You can learn more about setting up a three-point lighting scheme in this video tutorial from Full Sail University.
Sidelight
 Image: Casino Royale via Columbia Pictures
As you might have guessed, a sidelight is a light that comes from the side parallel to the actor. A sidelight is ideal for creating a dramatic mood and chiaroscuro lighting. Chiaroscuro is created with low-key and high-contrast—a traditional technique employed throughout the film noir period of cinema.
Key Points:
- To create better dramatic lighting with a sidelight, it is best to use it without a fill or have the fill ratio very low such as 1:8.
- Sidelights are ideal for revealing texture.
Practical Light

Image: Goodfellas via Warner Bros.
A practical light is an actual working light within the scene itself. This can be a household lamp, a TV, candles, police lights, and so on.
Key Points:
- Practical lamps were a big part of classic Hollywood films. Take the above image from Goodfellas for example. The lamps are a major source of illumination, and they also increase the depth of the scene.
- Common practice for practical lighting is for the lights to have a dimmer of some sort. Unfortunately, you might not be in a position, or have an electrician on set to install a dimmer switch. Therefore, an option you can take is to cut some diffusion gel and place it around the bulb.
- Unless you’re filming with a Carl Zeiss Planar 50mm f/0.7 like on Kubrick’s Barry Lyndon, candle light itself will not be strong enough to illuminate your entire scene to a substantial exposure.
Here is a tutorial on shooting a candlelit scene on a small budget.
Bounce

Image: Bounce light via Wikipedia
A bounce light, commonly just called a bounce, is a light that has been reflected. There are dedicated tools such as silk or a foam board to do this, but a bounce light can also come from the wall or the ceiling; the possibilities are endless.
Key Points:
- Foam bead boards have a matte surface and will create the softest bounce light.
- Reflectors with silver reflective material can create a hard light and often provide bounce light at 3/4 of the intensity back, depending on the distance of the light itself.
- Bounced light in the form a reflector can be very versatile. You can create a key, fill, backlight, and even illuminate objects in the background with reflective material.
Soft Light

Image: Her via Annapurna Pictures
Soft light is more of a term that describes the size of a light source rather than a placement itself. Soft light comes from a large source, either a light fixture or diffusion sheet. The light produced will have soft shadows – or no shadows at all if soft enough. Take a look at this soft lighting post for additional tips.
Hard Light
Hard light creates sharp and harsh shadows. You will get hard light from the midday sun or a small lighting source. Hard light is often unwanted. To reiterate the points above, in soft light, whether a light is soft or hard will entirely come down to the size of the source.
Key Points:
- Direct sunlight will produce hard light and will often need to be diffused.
- A smaller light will produce hard light, and a larger light will produce soft light.
Here is a comparison from a short I worked on last week to demonstrate the difference between hard and soft light. We had to wait until the sun passed behind the clouds as the light was too harsh.

High Key

Image: Harry Potter and The Deathly Hallows Part 2 via Warner Bros.
High Key is a style of lighting that is bright and shadowless with lots of fill light. It was used a lot in the classic Hollywood period in the 1930s and 40s, particularly in comedies and musicals.
Today high key lighting is primarily used for cosmetic commercials, sitcoms, and music videos. Although it still finds its place within modern cinema, see the above image from Harry Potter.
Key Points:
- High key is shadowless.
- Often close to overexposure on some areas of the image.
- Is usually produced from frontal lighting.
- High key will have a low lighting ratio.
Low Key

Image: Prisoners via Warner Bros.
An image with low key lighting is predominantly dark and filled with more shadows than light. There is little or no fill light. Low key focuses on the use of shadows as a character rather than the subjects in the light itself. It’s commonly used throughout horror and thriller films. Check out this article for more on making films dramatic with low key lighting.
Key points:
- Often will be achieved with just one light.
- Low key lighting will have a high lighting ratio.
- Low key lighting works better when using a hard light source.
Motivated Lighting

Image via Shutterstock
Motivated lighting is when the light in the scene imitates a natural source within the scene. The difference between motivated lighting and practical lighting is that motivated lighting enhances and replicates practical lighting.
Key points:
- Establish the source of the motivated lighting early in the scene and within the production schedule itself. If your motivated source is a window, and the shoot runs into the evening while the story time remains in the day, you can increase and change lighting gels to match the earlier time.
- Make sure you have the correct gels to correct the colour temperature to match the source of motivation.
- It’s important to have your light to look and act the same as the apparent source. If the motivation is moonlight, and your light is producing hard light at 5600k, it’s not going to sell the scene.
Available Light

Image: Lawrence of Arabia via Columbia Pictures
Available is what already exists at the location. This could just be the sun itself in the Rub’ al Khali desert or street lights and store signs on a New York City street.
Key points:
- If you’re using the sun as your lighting source, be sure to carefully plan for the weather and sun placement.
- Early morning and late evening are great times for soft golden lighting.
- Keep a track of time, the sun changes intensity and color quite quickly towards the later end of the day.
It’s very easy to read through this list and think that one definition could easily be another. That’s the beauty of it – they can be. One light placement term can very easily merge into a dozen other placements.
Take the image below from Man of Steel; it uses the computers as a practical light source and is the key light of the scene.

Image: Man of Steel via Warner Bros.
Books for Additional Reading:
Set Lighting Technician’s Handbook: Film Lighting Equipment, Practice, and Electrical Distribution by Harry Box
Cinematography: Theory and Practice: Image Making for Cinematographers and Directors 2nd Edition by Painting With Light by


